This week I ordered and received the official Raspberry 7″ touchscreen ($60). I’ve been tinkering with some ideas for it (some car based projects) and wanted it on hand to try out.
Opening the Box
-
-
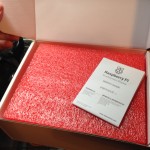
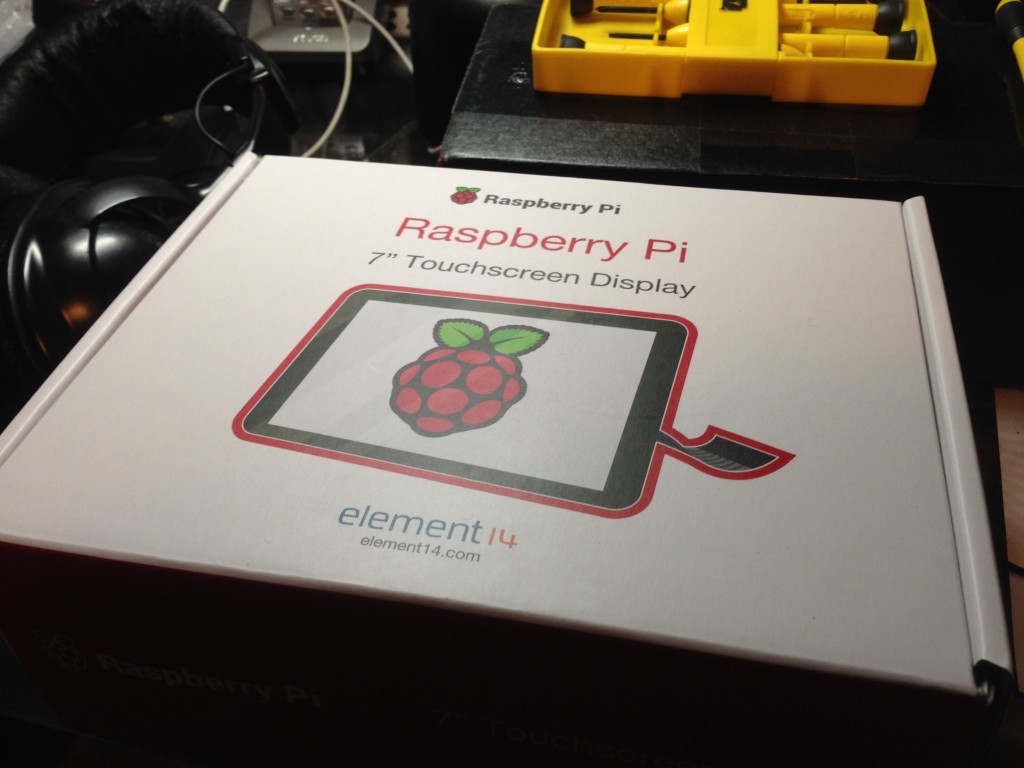
Excellently packaged 7″ touch display
-
-
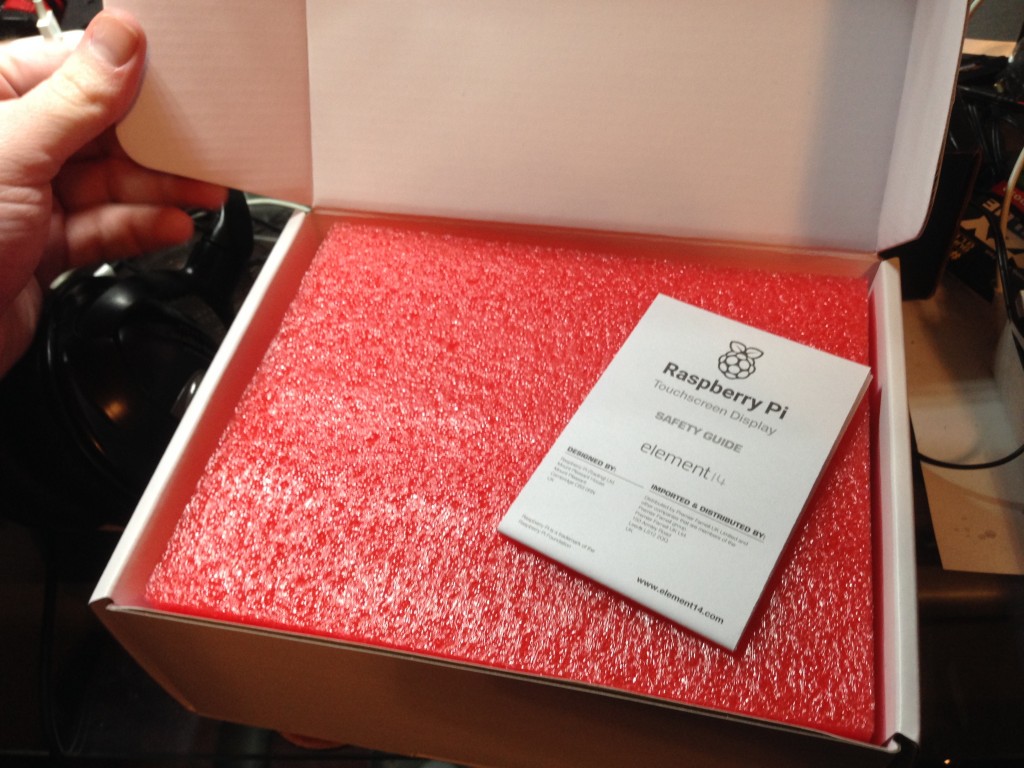
Standard safety guide in many languages.
-
-
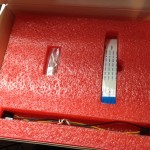
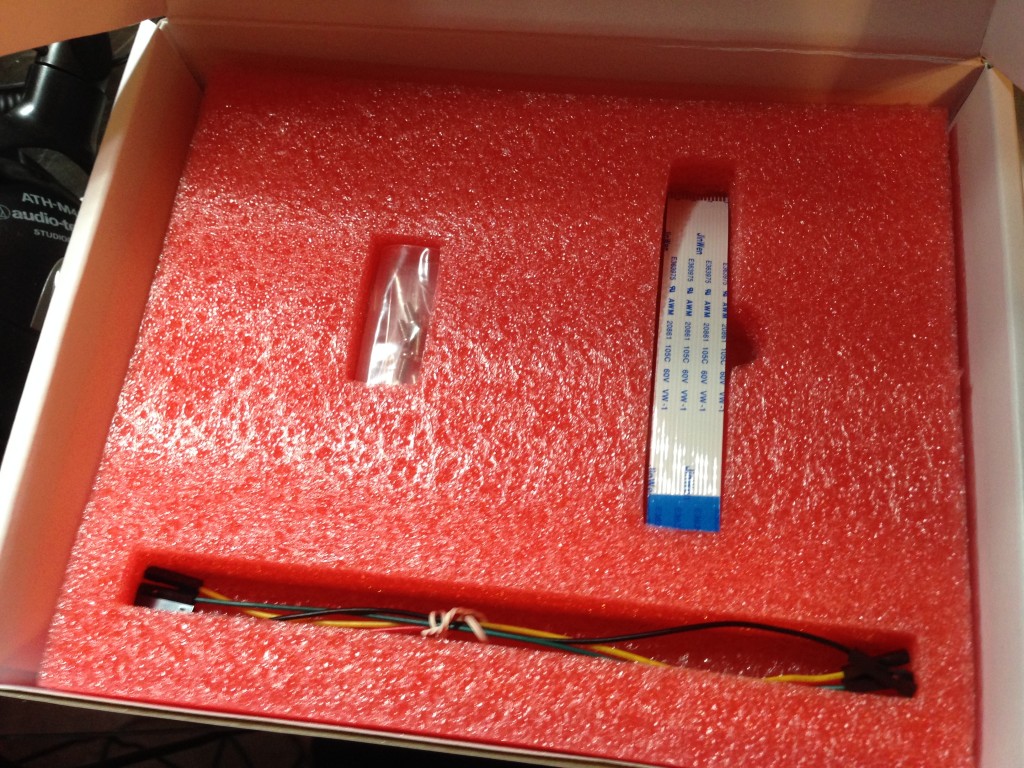
4 Screws, DSI Cable, and Jumpers.
-
-
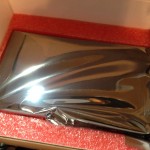
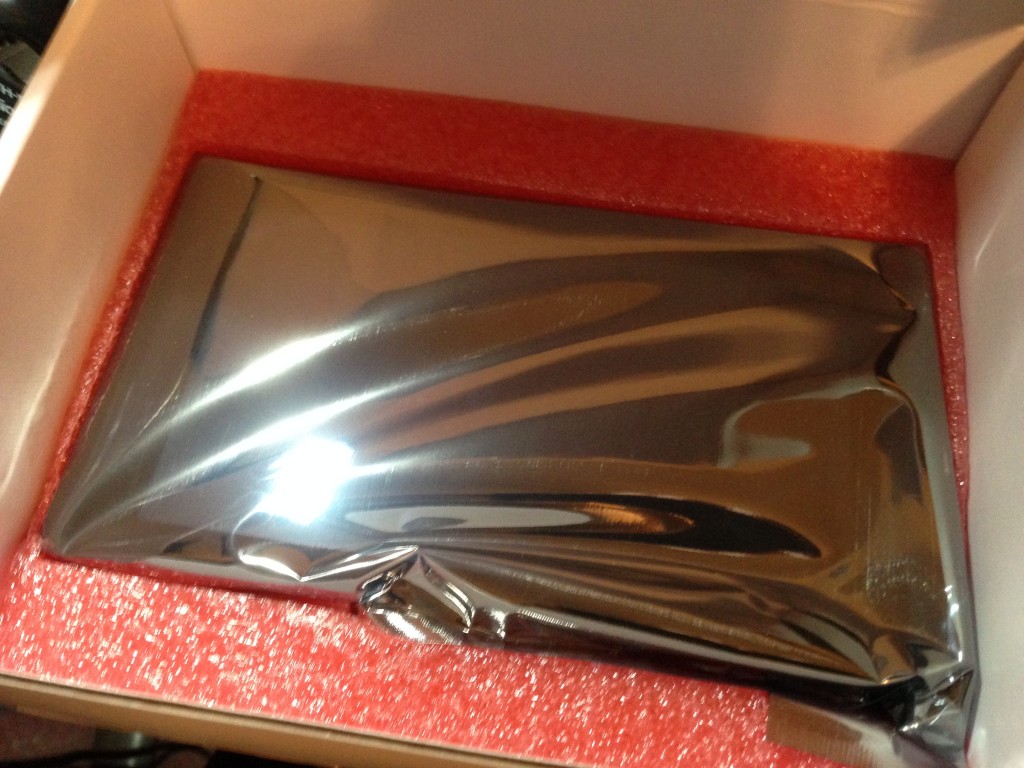
The screen in anti-static container.
The screen is packaged and presented really well. It comes with all that you need to connect and power it from the Pi itself. It comes with 4 screws to mount the Pi, the ribbon cable to connect it to the Pi’s DSI port, and 4 jumper wires, 2 of which are for powering the display on the Raspberry Pi 2 B+. The other 2 are used when attaching the display to an older model A or B.
The Screen Itself
-
-
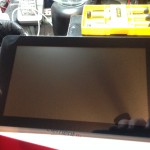
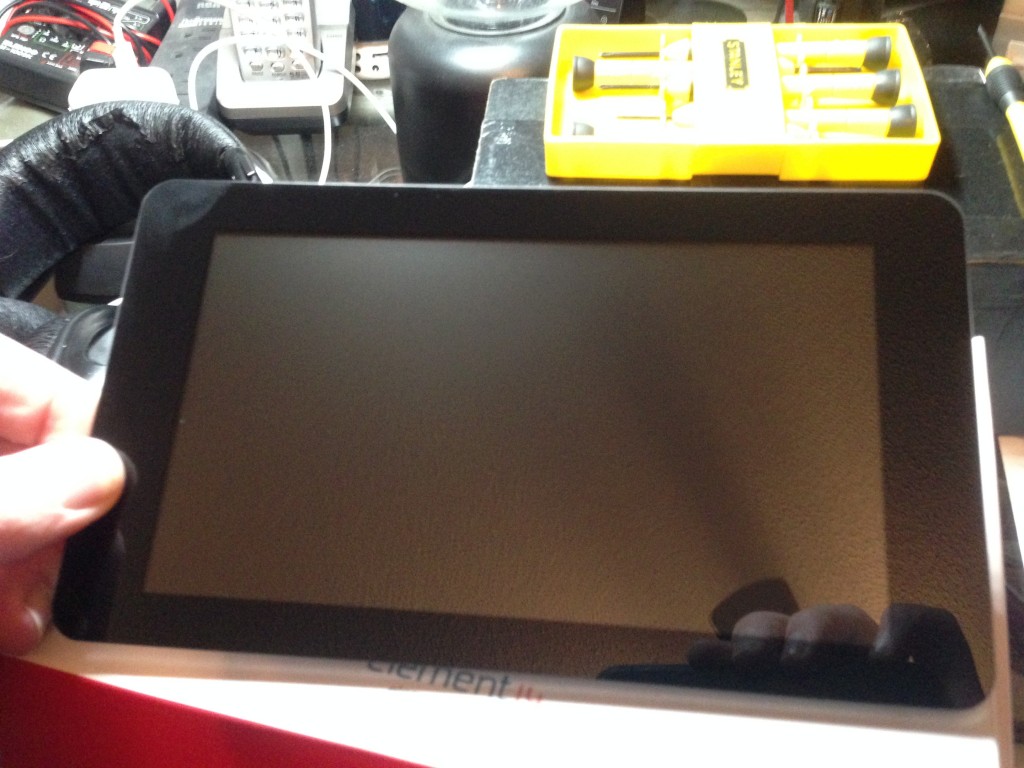
The touchscreen
-
-
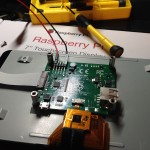
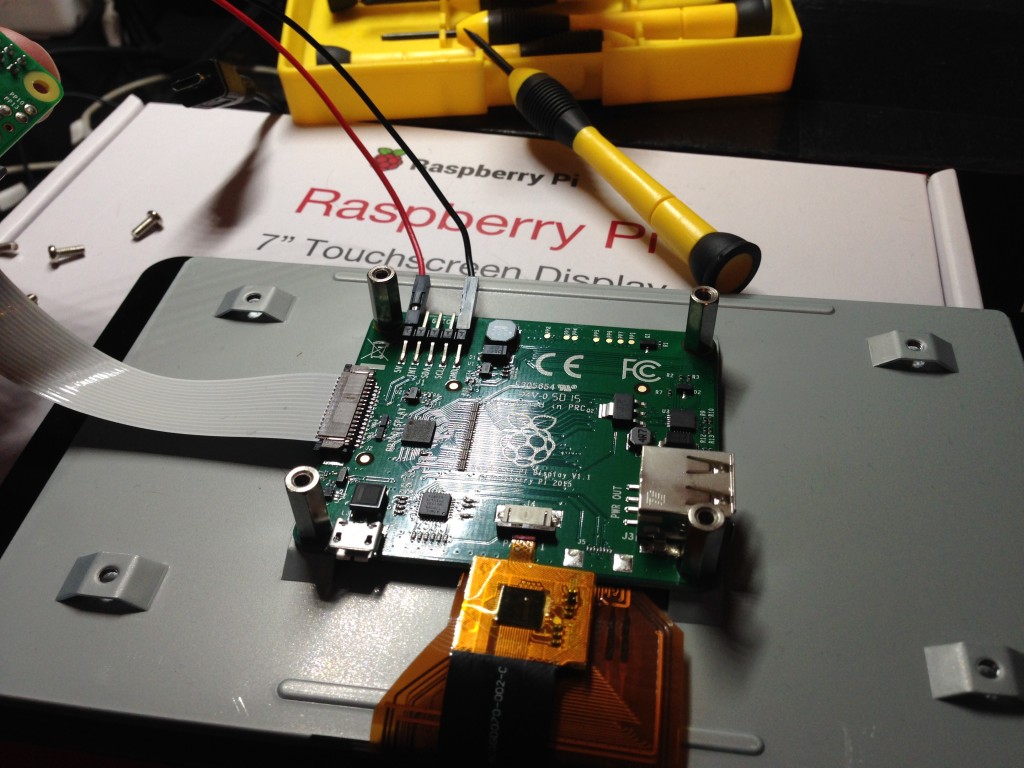
The controller for the display.
The screen itself seems really well made, I’m really impressed by it. The LCD side seems pretty sturdy and the backside seems better than I would have expected. Mine has a little give around the are the ribbons from the control board enter the LCD itself, but its nothing to complain about.
Connecting It All
-

-
The controller for the display.
-
-
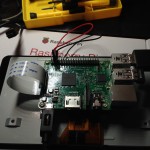
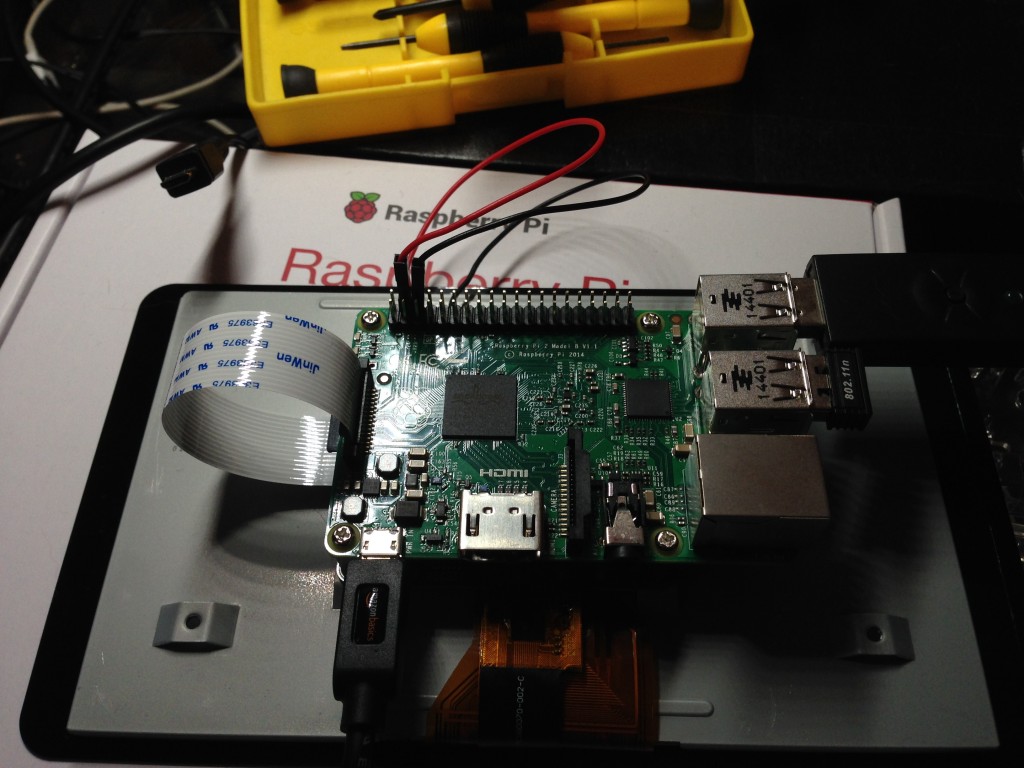
The Raspberry Pi mounted to the screen.
In this case with the Raspberry Pi 2 B+, the screen connects easily via DSI ribbon and 2 jumpers to 5V and ground. Once wired its an easy job to mount the Pi onto the screen. In these pics you also see my cheap wifi and old keyboard dongle. I think I will want to buy a good Bluetooth adapter and keyboard shortly. I found a really need looking one here: http://www.amazon.com/gp/product/B00BX0YKX4.
Up and Running
-
-
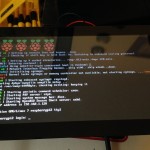
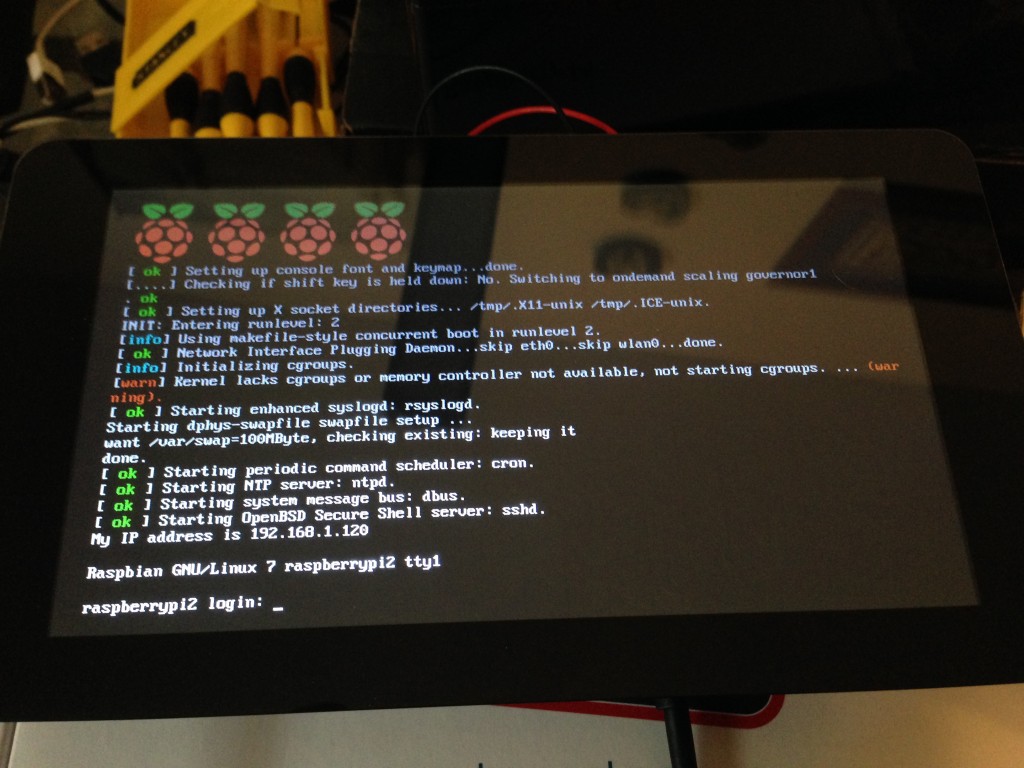
Raspbian booted up to console.
-
-
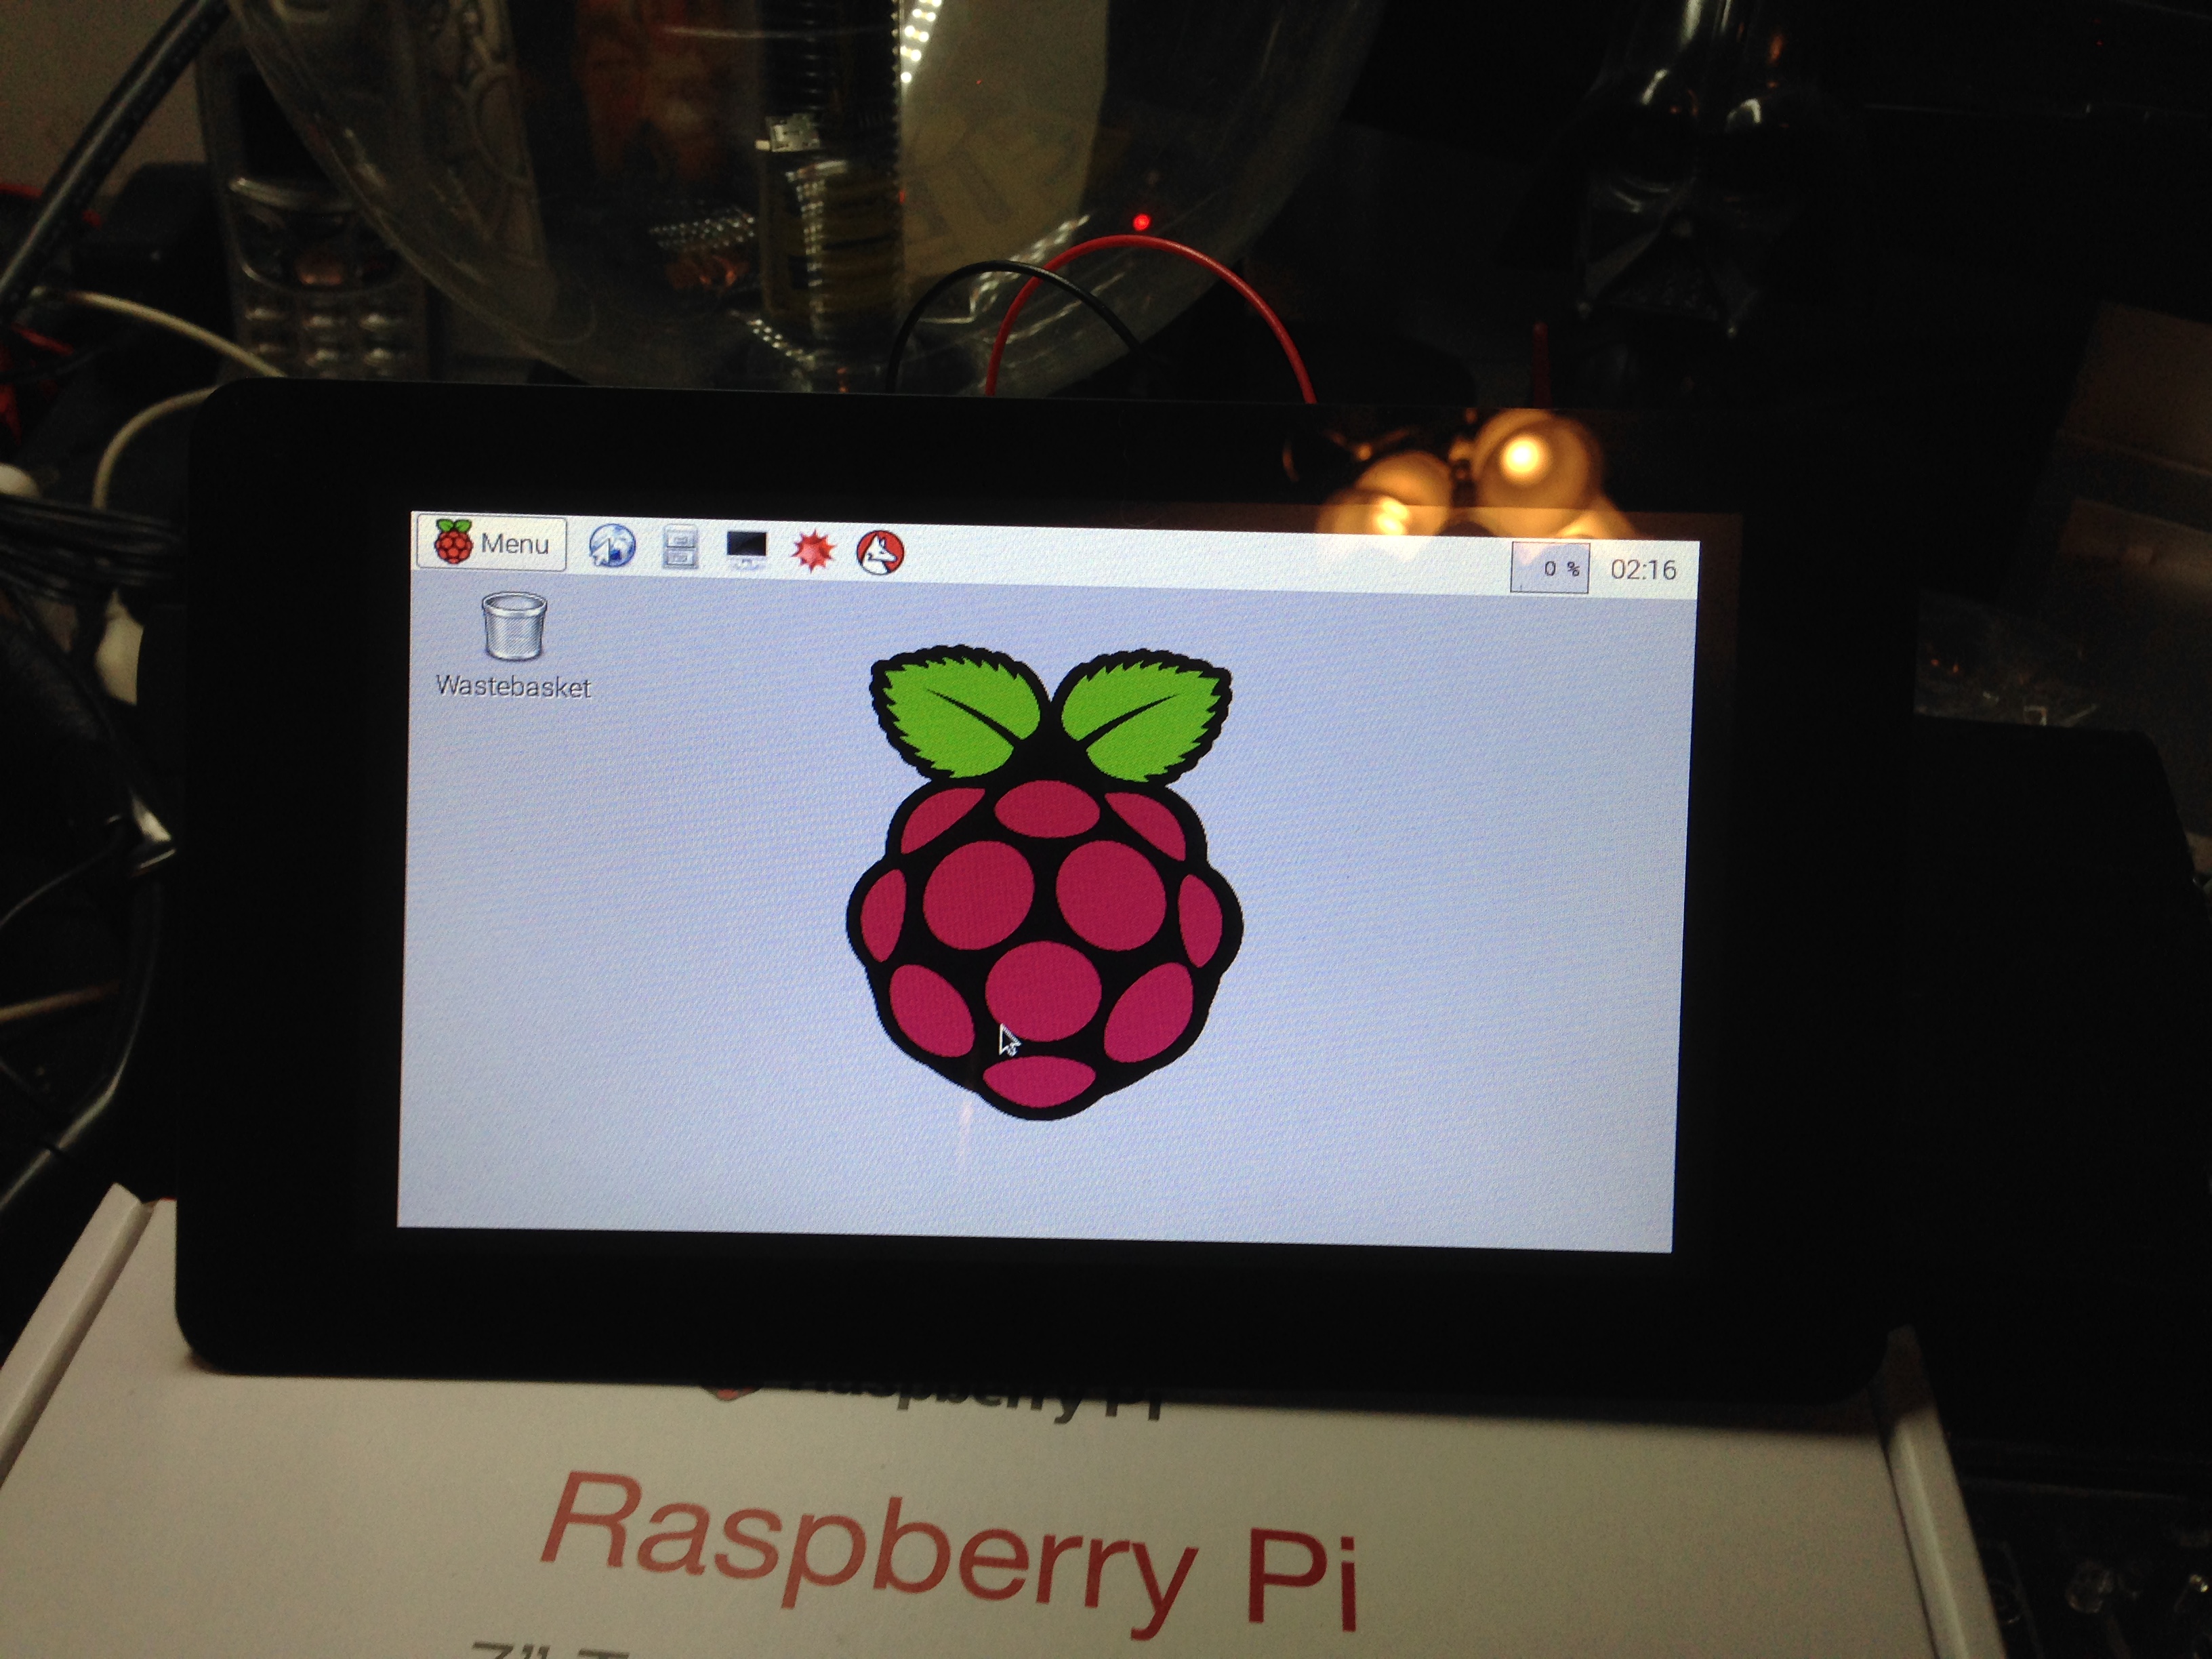
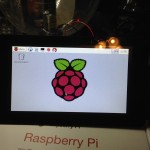
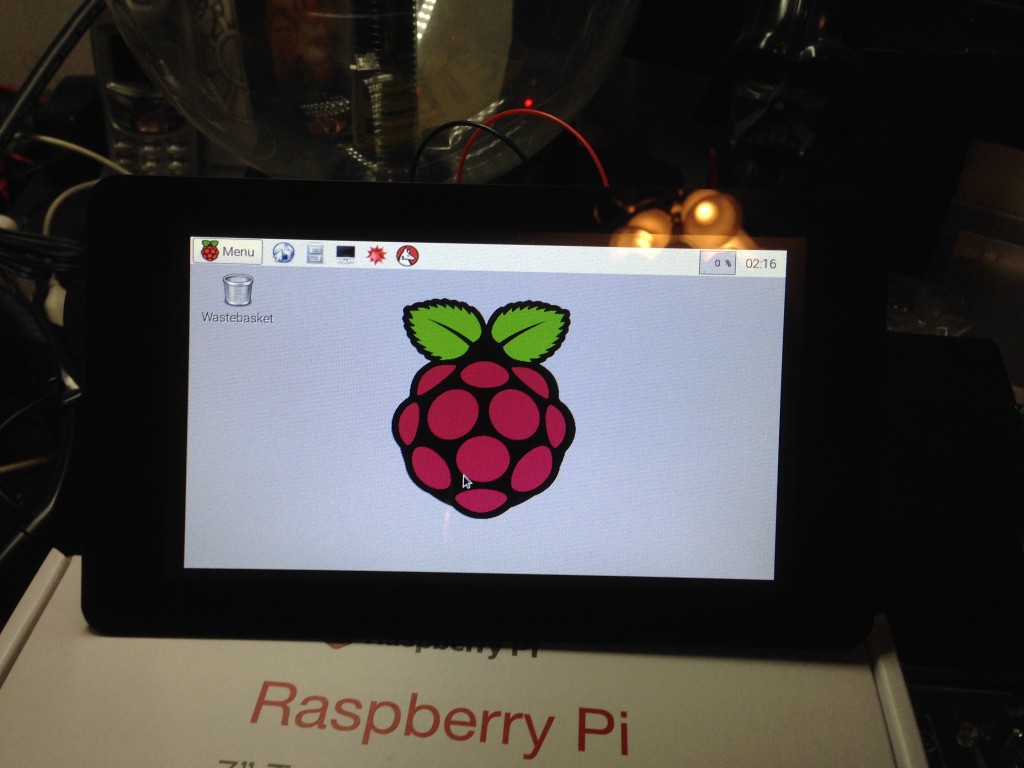
Raspbian GUI up and running.
Once all connected, the Pi boots right up to the console. At this point you need the external keyboard to actually login and run startx, unless you’ve already configured Raspbian to do so. You will also need to install a virtual keyboard like Florence or Matchbox.
Using It
The biggest shortcoming is the need for a physical keyboard, like I mentioned in the preceding section, and it is probably the biggest drawback. The out of the box touch features seems only to augment physical keyboard functionality. That’s because unlike Android or iOS, the virtual keyboard isn’t dynamic, it is either always there or not. I suppose that a custom interface would be more touch oriented. The one oddity I have found is that counter to other touch screens, the hotspot for a touch seems off and to me it seems more exaggerated near the edges of the screen. It’s not a show stopper, but takes some getting used to.
Overall Opinion
After getting it all hooked up, I found that it seems a bit clunky. It left me wondering if a better solution isn’t just a raspberry pi running as a server and using a Android or iOS device as a head. However, assuming you stick with the Raspberry driving its own display, a longer cable might be desirable, depending on your project. In that case a regular HDMI touchscreen with usb connections might be the better fit.
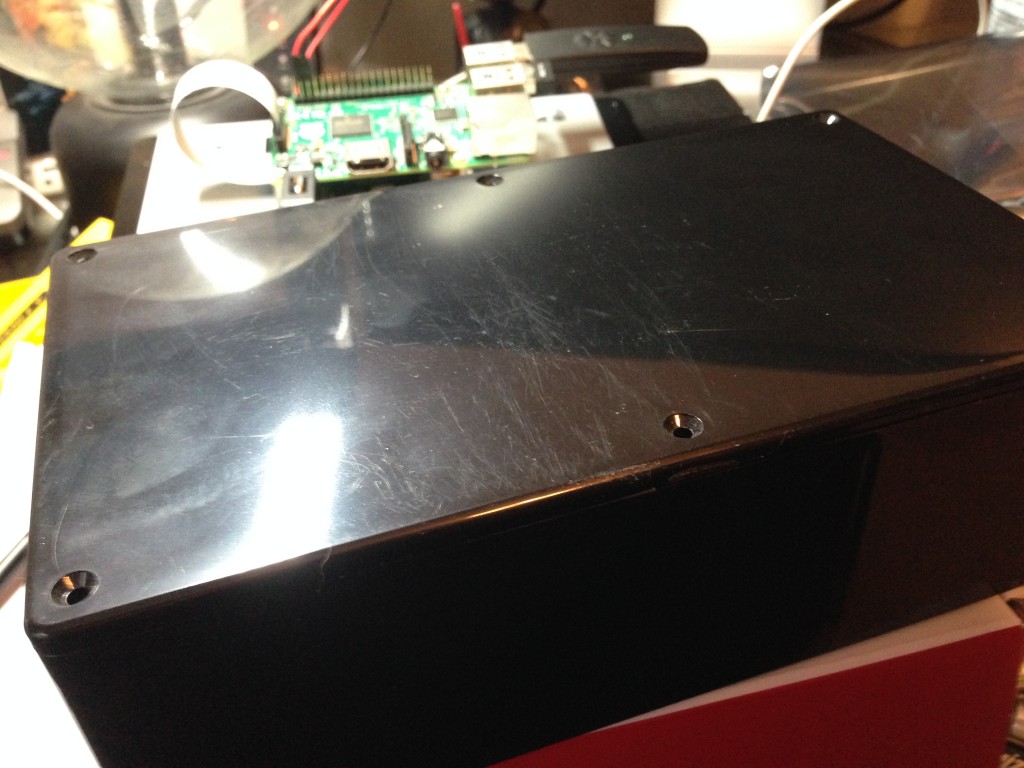
The lack of good cases is also a problem. Nothing I have found yet, fully encloses the pi and the display. Coincidentally, I had an old project box laying around that seems to fit almost perfectly. At 7.5″ x 4.3″, the Hammond 1591ESBK‘s dimensions are only a little shy of the actual dimensions of the displays bezel (less than 0.25″). I’ll post new photos if / when I do that.
Other Resources:
-
-
Excellently packaged 7″ touch display
-
-
Standard safety guide in many languages.
-
-
4 Screws, DSI Cable, and Jumpers.
-
-
The screen in anti-static container.
-
-
The touchscreen
-
-
The controller for the display.
-
-
The Raspberry Pi mounted to the screen.
-
-
Raspbian booted up to console.
-
-
Raspbian GUI up and running.
-
-
Hammond project box that seems to fit the Raspberry Pi display almost perfectly.
